Vegan Burger Buns
When you make your own homemade Vegan Burger Buns, you'll forget that store-bought buns ever existed! They're squishy, fluffy, and absolutely delicious.
Print
Pin
Equipment
- stand mixer
- large mixing bowl
- kitchen towel
- baking tray
- parchment or Silpat
Ingredients
Wet Ingredients
- 3/4 cup soy milk lukewarm (about 110°F)
- 1 teaspoon granulated sugar
- 1 packet active dry yeast
- 2 tablespoons vegan butter softened at room temperature
- 1 tablespoon flaxseed meal
- 3 tablespoons water
Dry Ingredients
- 3 1/4 cups (390g) all-purpose flour plus more as needed
- 2 tablespoons granulated sugar
- 1 1/2 teaspoons salt
Instructions
Proof the Yeast
- Sprinkle yeast and 1 teaspoon sugar over the lukewarm soy milk and whisk. After a few minutes the yeast should be bubbly. If there is no activity, there's a good chance your yeast is expired.
- In the meantime, whisk together the flaxseed meal with the water and allow to gel while you measure the other ingredients.
Mix & Knead the Dough
- Add the yeast mixture to the bowl of a stand mixer along with the soaked flaxseed and softened vegan butter. Whisk to combine.
- Add in the flour, salt, and 2 tablespoons granulated sugar. Use the stand mixer's paddle attachment to mix everything together at a medium speed. (Or use a wooden spoon to mix everything together by hand.)
- Once the ingredients are combined and there are no dry ingredients visible, switch to the dough hook attachment and knead for 3-5 minutes at a medium speed. (Or turn the dough out onto a lightly-floured surface and knead 8-10 minutes by hand.)
- Many factors can influence the hydration of the dough. If the dough is seeming overly sticky (sticking a lot to the sides of the stand mixer bowl, or to your fingers), gradually work in extra flour about 2 tablespoons at a time. Knead the extra flour in completely before assessing whether you need additional flour. The dough should be slightly tacky to the touch, but it should "clean" the sides of the stand mixer bowl. It should not stick excessively to your fingers or to your work surface.
- You're done kneading when the dough is smooth and elastic — it should "bounce back" quickly if you poke it. If you poke it and a deep indentation remains, you should continue to knead.
First Rise
- Transfer your dough to a lightly-oiled bowl. Cover with a damp kitchen towel and allow to rise until just about doubled. (This usually takes around 1 hour if your kitchen is at a normal temperature. If it's chilly, it can take up to 2 hours. If it's particularly warm, it may happen a little faster than 1 hour. Take a visual note of the size of the dough and proceed to the next step when it has roughly doubled in size.)
Shape the Burger Buns
- Turn the dough out onto a lightly-floured surface and divide it into 8 portions. You can eyeball it, or use a kitchen scale for more precision (this is my preference).
- Shape each portion of dough into a ball. There are a few methods for this. I like to hold the dough in my palm and repeatedly tuck the edges into the center while rotating. Take a look at the recipe video to get a better idea of how I do this. Once shaped, gently roll the dough on the work surface to create more surface tension.
Second Rise & Bake
- Transfer the shaped dough balls to a parchment- or Silpat-lined baking sheet. Flatten each dough ball with the palm of your hand to form a burger bun shape roughly 3" in diameter.
- Cover with a damp kitchen towel or plastic wrap and allow to rise until very puffy. This usually takes about 45 minutes to 1 hour depending on the temperature of the kitchen.
- Toward the end of the rising time, preheat oven to 375°F.
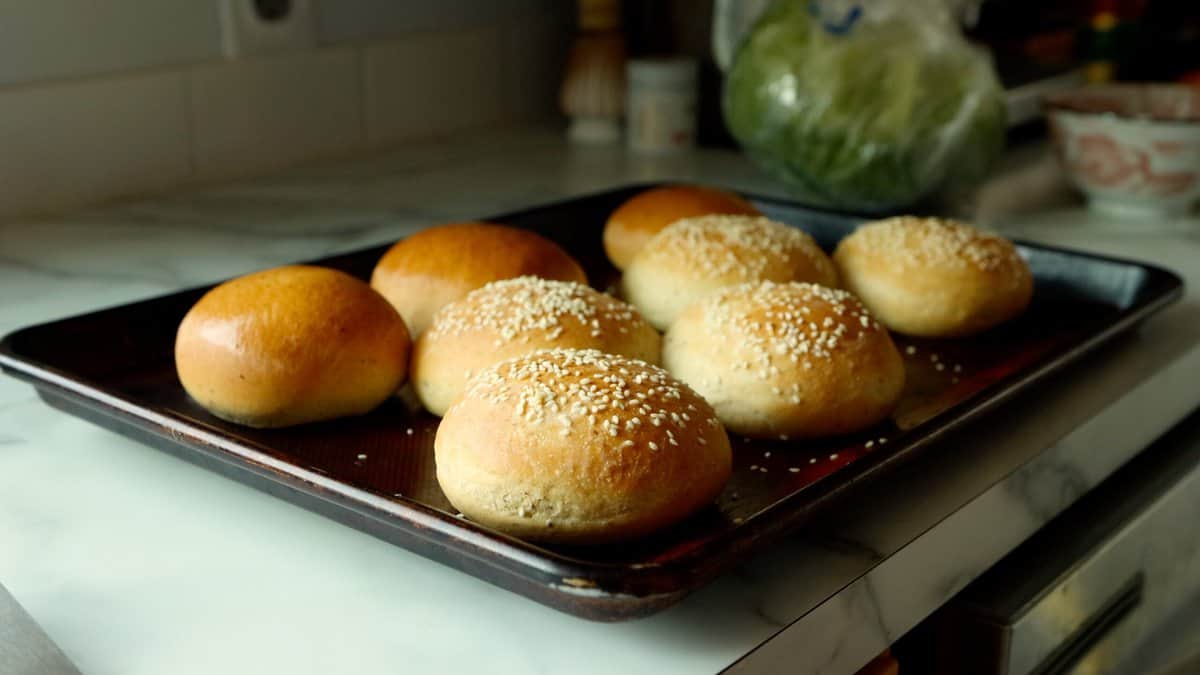
- Brush buns with melted vegan butter and bake 15-18 minutes, until golden brown. Remove from the oven and allow to cool on the tray for about 5 minutes before transferring to a wire cooling rack.
Did you make this recipe?We’d love for you to leave a review on the website! You can also share a photo on IG and tag @sarahsvegankitchen_ or #sarahsvegankitchen.