
Soft, pillowy, fluffy pita bread made from scratch. No pizza stone or special equipment required! Cook it on the stovetop or in the oven — whichever fits your day.
There is truly nothing quite like tearing into a warm, pillow-soft pita bread fresh from your kitchen. Store-bought pitas may be convenient, but they’re oftentimes dry, pale and flavorless. With a little time and love, you can cook up a batch of homemade pita that’s delightfully fluffy and tender, perfect for dipping in hummus or making next-level wraps.

If you’ve ever wanted to elevate your homemade falafel wraps or tofu gyros, learning how to make pita bread from scratch is an absolute game-changer. You can do it without any special equipment and cook them in the oven or on the stovetop.
The best part is it’s actually quite easy! It’s one of the first from-scratch breads I had the guts to tackle, and I’ve never had a batch disappoint.
Table of Contents
Why You’ll Love This Recipe
- Simple Pantry Staples: Made with basic ingredients you likely already have on hand—flour, water, yeast, salt, sugar, and olive oil.
- No Pizza Stone Required: You can easily achieve standard steam pockets using a simple upside-down baking sheet or a heavy cast-iron skillet.
- Flexible Cooking Methods: Includes full instructions for both a quick stovetop bake (perfect for hot summer months when you don’t want to turn on the oven!) and a high-heat oven method.
- Meal Prep Friendly: These store well at room temperature and freeze like a dream, so you can always have fresh flatbread on hand.
The Secret to Perfect Pita Pockets
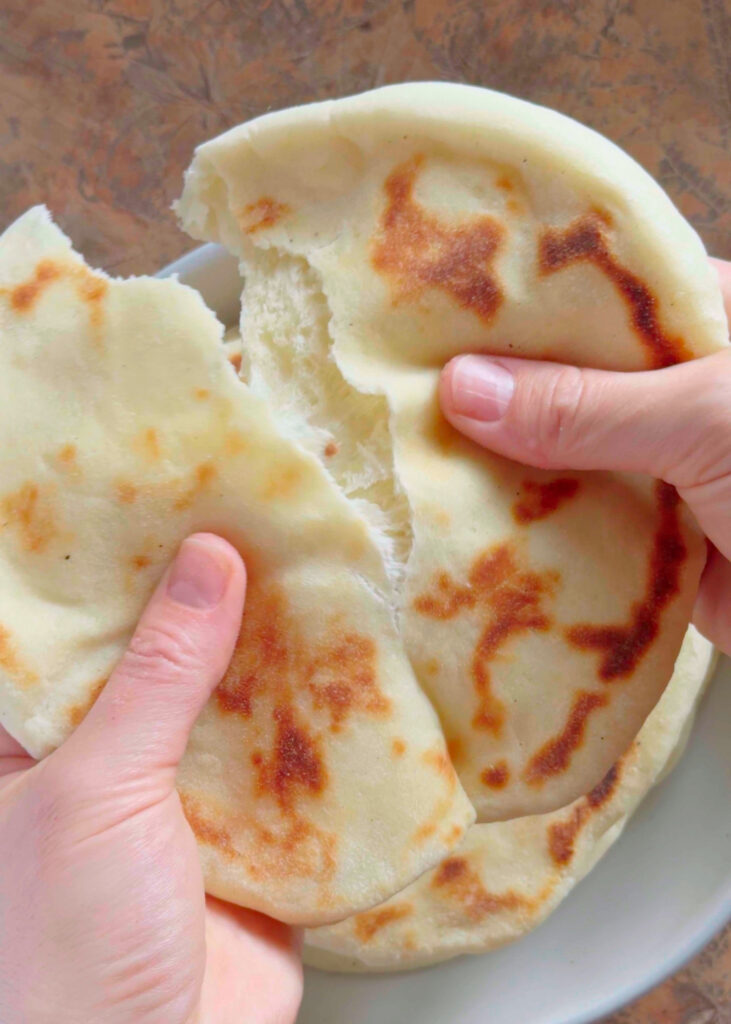
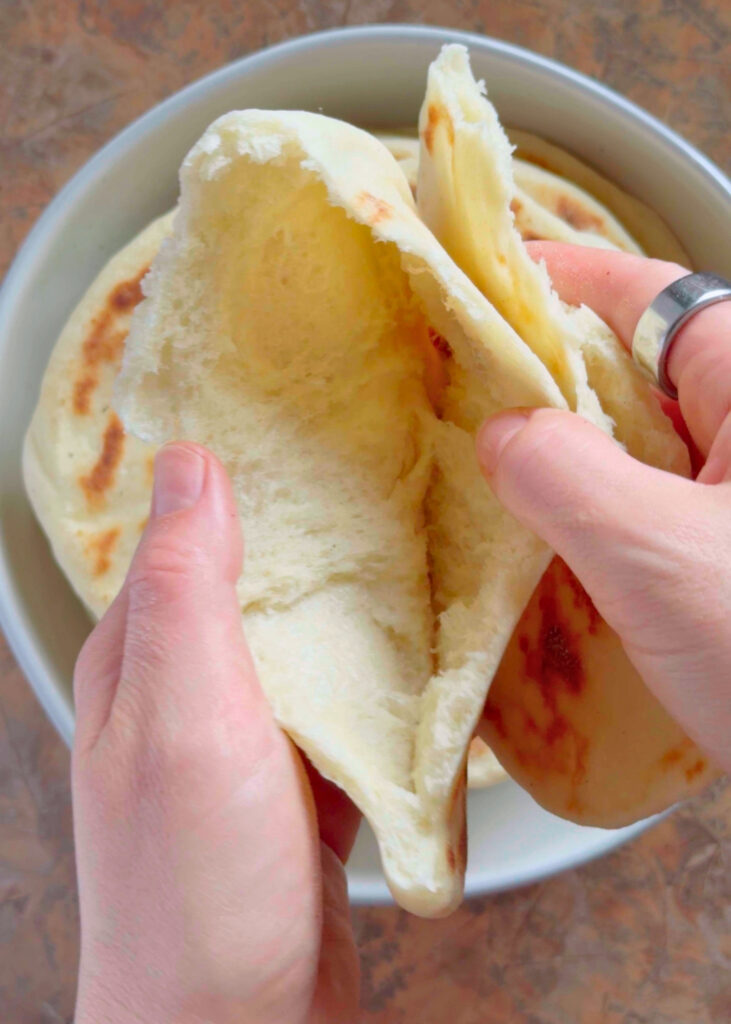
Getting a hollow pocket in homemade pita comes down to two simple scientific reactions: steam and gluten relaxation.
- High Heat Flashes Steam: When moisture in the dough hits a scorching hot skillet or baking stone, the water inside instantly turns to steam. That sudden pressure inflates the dough like a balloon before the outer crust has time to set.
- The Second Rest is Key: Rolling out yeast dough puts high tension on the gluten network. Letting the rolled discs rest undisturbed for 20–25 minutes allows the gluten to relax so it can expand easily. It will also give the yeast time to build tiny interior air bubbles to trap that steam.
Equipment Needed
- Cast-Iron Skillet: Ideal for the stovetop method to ensure intense, even heat retention.
- Heavy Baking Sheet or Pizza Stone: If using the oven, an inverted rimmed baking sheet on the bottom rack works amazingly well as a pizza stone substitute.
- Rolling Pin: For rolling the dough into even 6-inch discs.
- Mixing Bowl or Stand Mixer: Equipped with a dough hook for easy kneading.
Frequently Asked Questions & Troubleshooting
If your pita stays flat, it usually comes down to three common reasons:
The pan or oven wasn’t hot enough: The cooking surface needs to be extremely hot. The rapid release of steam before the surface of the dough sets is what creates the pocket!
You skipped the last rest: If you try to cook the dough immediately after rolling, the tight gluten can sometimes resist expanding.
Tears or punctures: If tongs or fingers puncture the dough during handling, the trapped steam escapes and the balloon deflates. Use a flexible spatula or fish turner to flip gently!
They both come out delicious, so it is honestly a matter of personal preference. I typically use the stove during summertime so that I don’t have to heat up my house with a 550°F oven! A skillet will also generate some extra flavor from browning.
During cooler months I prefer to cook them in the oven. It’s a little more hands-off, and since I can cook 2-3 at a time it goes faster. If you’re struggling to get your pitas to puff, I find they also puff a bit more reliably in the oven since the heat is coming from all directions.
Yes! A heavy-duty baking sheet, turned upside down on the oven rack, is a great alternative to a pizza stone in a pinch. It will require less time to preheat than the pizza stone — just about 30 minutes.
If you don’t own a baker’s peel, you can use the back of a rimless cookie sheet, a stiff cutting board, or even rest your rolled pitas on individual small squares of parchment paper to slide both the paper and dough directly onto the hot baking sheet.
Yes! This will add a nice nutty flavor along with some extra fiber and protein. I don’t recommend substituting all of the all-purpose flour for whole wheat, though, as this can make the pita a little dense. A good starting point is substituting 25% or 50% of the flour for wheat flour. The dough may require just a touch of extra moisture if you do this; just go by feel.
How to Store and Reheat Homemade Pita
- To Store: Allow the pitas to cool completely before storing to avoid condensation. Once cool, place them in an airtight container or ziploc bag at room temperature for 3 to 4 days. Avoid refrigerating them; this actually makes the texture worse.
- To Freeze: Stack cooled pitas with a square of parchment paper between each one to prevent sticking. Seal in a freezer-safe bag and freeze for up to 3 months.
- To Reheat: Mist lightly with a splash of water and warm in a dry skillet over medium heat for 30–60 seconds per side, or toss frozen pitas directly into a preheated 350°F oven for 3 to 5 minutes until soft and pliable.

What to Serve with Fresh Pita Bread
Pair these pillow-soft flatbreads with your favorite Mediterranean and Middle Eastern inspired meals:
- Stuff them with crispy baked falafel, shredded lettuce, and tahini sauce.
- Serve warm alongside fresh hummus, baba ganoush, or tzatziki for dipping.
- Use them as the base for Tofu Gyros loaded with fresh vegetables and creamy sauce.
More Vegan Recipes
- Vegan Tzatziki Sauce
- Vegan Greek Meatballs
- Jennifer Aniston Salad (Vegan)
- Pearl Couscous Salad with Snap Peas and Champagne Vinaigrette
- Lemon Herb Grilled Tofu
Did You Make This Recipe?
If you’ve made this recipe and loved it, please leave a 5-star rating and review below! Also, if you post a picture on Instagram and tag me @sarahsvegankitchen_, I’d love to see your work.
Homemade Pita Bread (Stovetop or Oven)
Equipment
- cast iron skillet
- stand mixer or mixing bowl
- Rolling Pin
- pizza stone or heavy baking sheet
Ingredients
- ¾ cup lukewarm water about 110°F
- 2 1/4 teaspoons active dry yeast 1 standard packet
- 2 1/2 cups all-purpose flour (325g) plus up to 1/4 cup extra for kneading
- 1 teaspoon fine sea salt
- 2 tablespoons granulated sugar
- 3 tablespoons olive oil
- all-purpose flour as needed, for rolling out the pita
Instructions
Mix the Dough
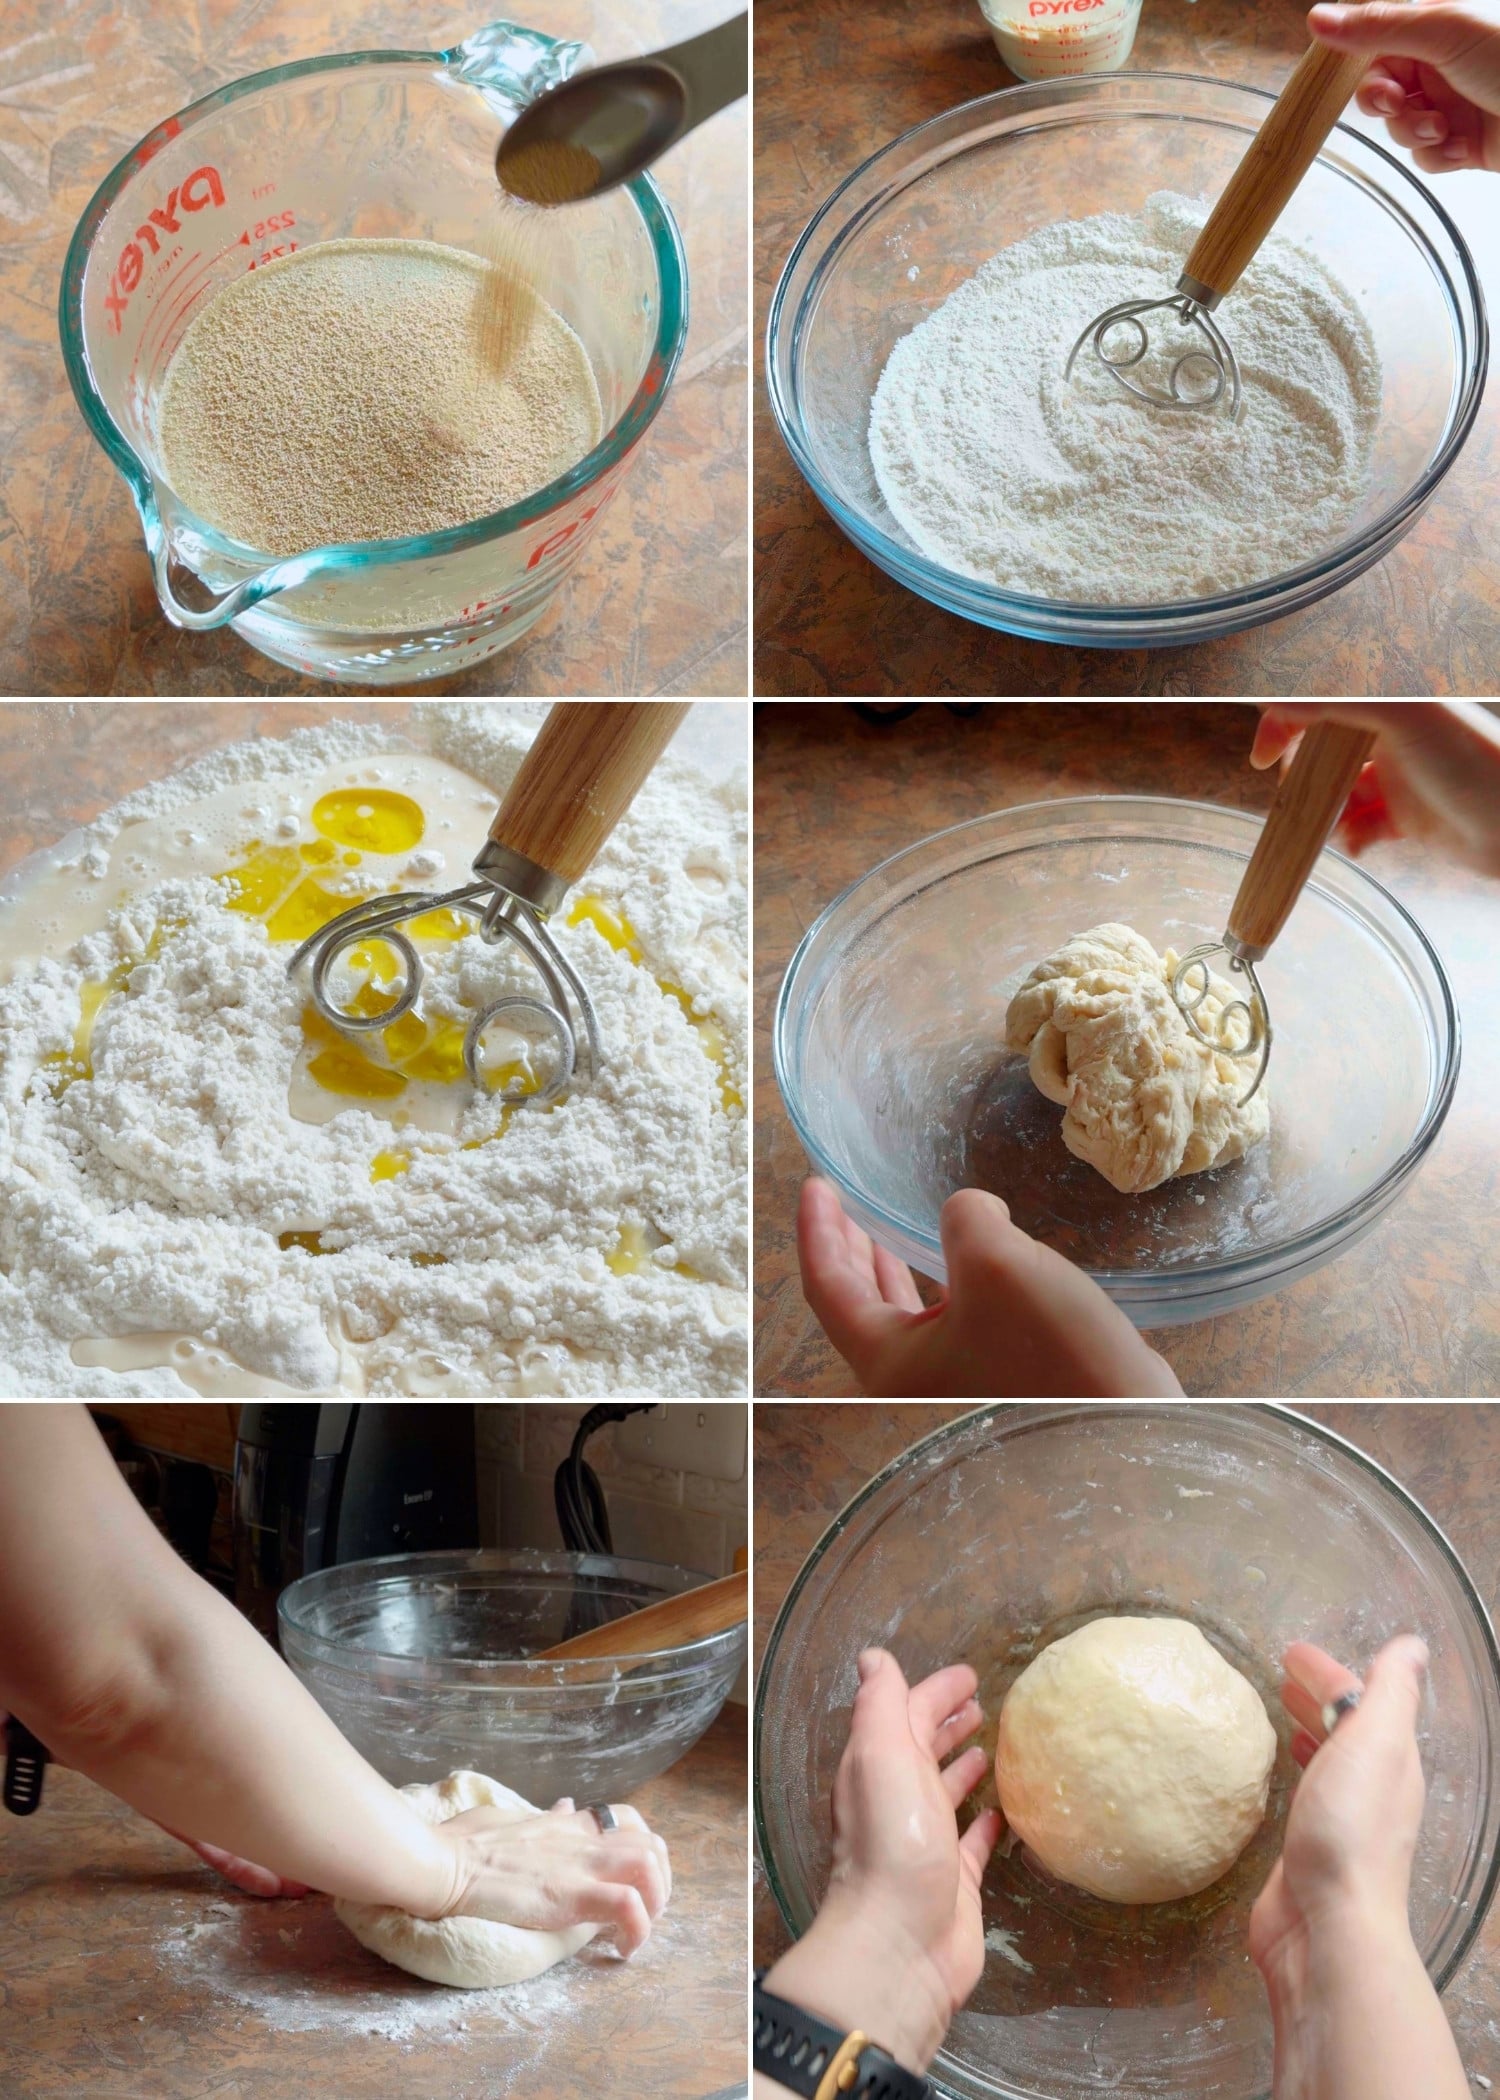
- In a small bowl or measuring cup, whisk together lukewarm water and active dry yeast. Allow to proof for about 5-10 minutes, until foamy.
- In a large mixing bowl or the bowl of a stand mixer, mix together all-purpose flour, salt, and granulated sugar.
- Pour the foamy yeast mixture into the dry ingredients along with the olive oil. Mix by hand, or with the paddle attachment of the stand mixer, to form a shaggy dough.
- If working by hand, turn the dough out onto a lightly floured surface and knead for 8-10 minutes. If using a stand mixer, switch the paddle out to the dough hook and knead for 6-8 minutes. Work in extra flour a few tablespoons at a time, only as needed, to achieve a smooth and elastic texture. Make sure you are incorporating all of the extra flour before adding more.
Rise & Shape the Dough
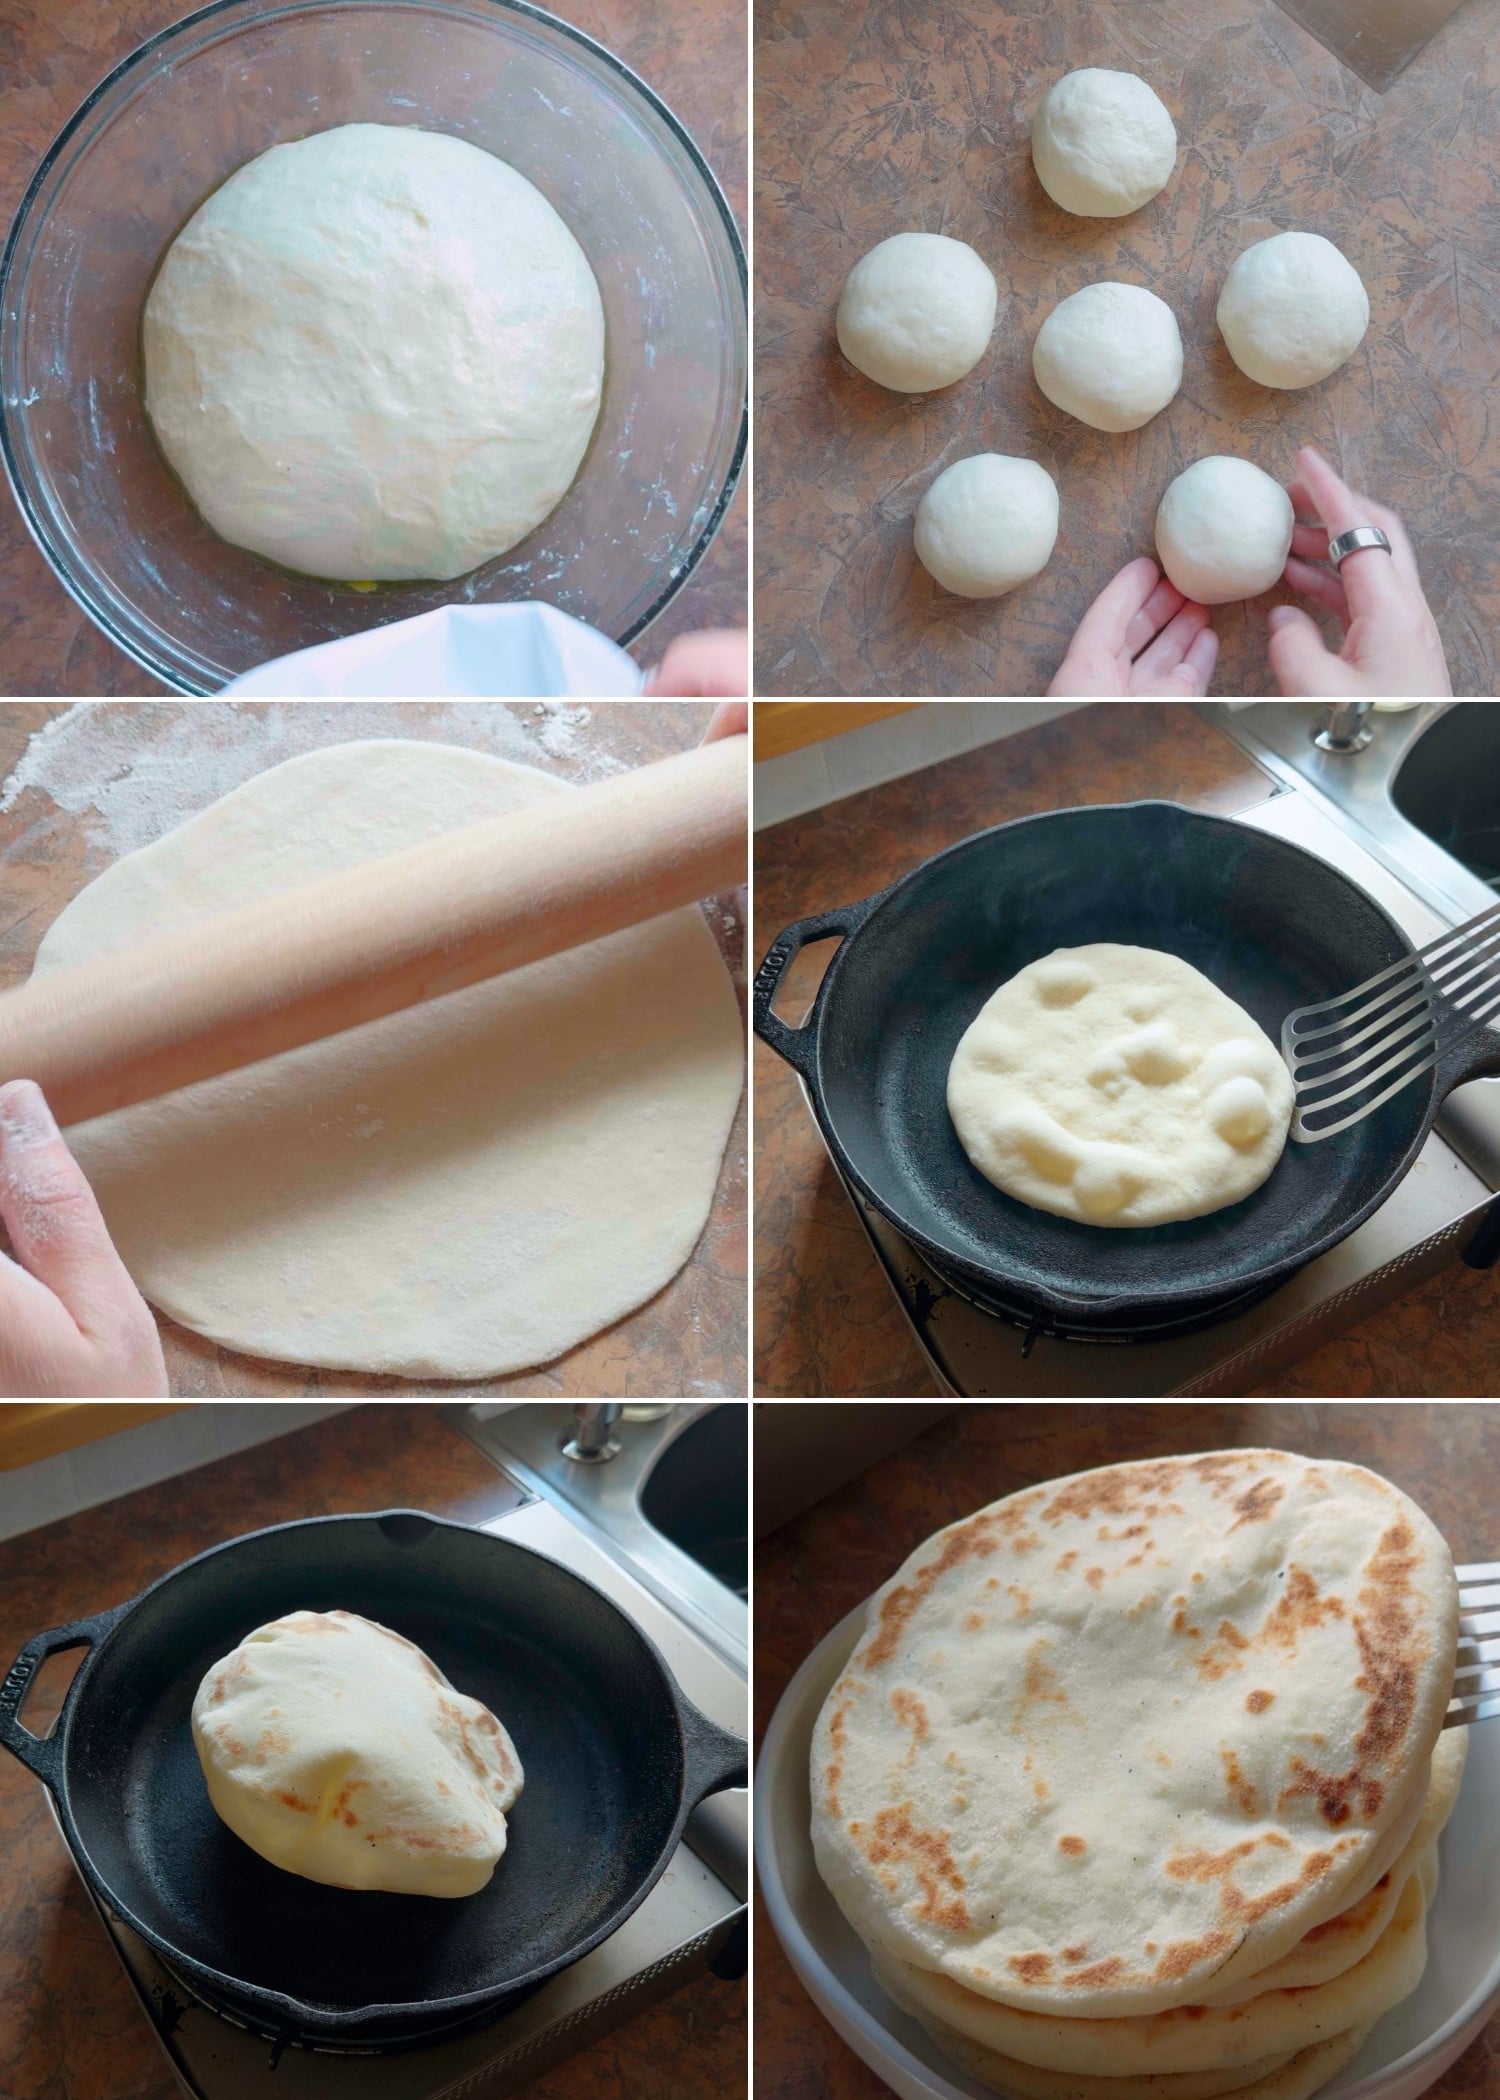
- Form the dough into a ball. Lightly grease the mixing bowl with olive oil and add the dough, giving it a flip to evenly coat it with oil. Cover and allow to rise for about 1 hour or 1 1/2 hours, until roughly doubled in size.
- Turn the risen dough out onto a clean work surface and divide it into about 6-7 portions. Shape each portion into a ball by tucking all its edges toward the center, then pinching them together. Repeat for all remaining dough pieces, place the balls seam-side down. Cover with a damp cloth or plastic wrap and allow to rest for 20 minutes.
Roll Out & Final Rise
- If you will be cooking your pitas in the oven, begin preheating your oven to the hottest temperature at this point. If using a pizza stone, make sure it's in the oven to preheat. If you don't have a pizza stone, you can use heavy duty baking sheet placed on the oven racks upside-down. A baking sheet requires less time to preheat than the pizza stone — only about 20-30 minutes.
- Roll each dough ball out into a disk about 6" in diameter. Use flour on your work surface and rolling pin as needed to prevent sticking. As you work one dough ball at a time, keep the rest covered so they don't dry out. You can leave the rolled-out flatbreads on the counter, covered with the same cloth or plastic wrap from the previous step, or move them to a baking sheet if you prefer.
- Allow the rolled-out dough to rise for another 20-25 minutes, until lightly puffy.* Make sure it's loosely covered to keep the dough from drying out and forming a "skin."
Cook the Pita Bread (Oven Method)
- By now your pizza stone or baking sheet should be well preheated. To transfer the rolled-out pita bread you can use a pizza peel, a cutting board, or another cookie sheet without a lip. Gently load one pita bread at a time onto the peel and carefully slide it onto the pizza stone. If there's enough space on your pizza stone, you can cook 2 at a time. Make sure to work quickly because pita cooks very quickly.
- Immediately after transferring the pita into the oven, close the door and allow them to cook for 3-5 minutes. There is no need to flip them at this high temperature. They should be lightly browned but not too dark. Carefully remove the puffed breads with tongs and transfer to a plate. Be careful when handling the cooked pita, because they're filled with steam! Let them cool before handling. Repeat with all remaining dough.
Cook the Pita Bread (Stovetop Method)
- Heat a clean, dry cast-iron skillet over medium-high heat for about 5-8 minutes prior. The pan needs to be very hot for the pita pockets to form. If you splash a few drops of water on the pan, they should sizzle and evaporate right away. You might even see a few wisps of smoke rising from the pan.
- If there's any extra flour on your pita breads from rolling them out, try to gently dust it off before cooking them. The flour can cause some smoke in the pan.
- Gently lay the uncooked pita bread in the center of the preheated skillet. (No oil is needed.) Let it cook for about 1 minute on the first side. It should begin to blister and rise.
- Carefully flip the pita bread to the second side. (I use a fish turner. I don't recommend using tongs because they can sometimes rip the bread and then a pocket will not form.) Cook on the second side for about another minute, during which time it should puff up nicely. At this point I like to flip it back over to the first side for another 30ish seconds just to finish cooking. Remove to a plate.
- All stoves are a little different, so keep adjusting your temperature as needed so that by the end of the first minute, the bottom of the pita bread is golden brown. If it's charred after a minute, reduce the temp. If it has hardly picked up any color, increase the temp. Pitas are pretty foolproof to cook, so follow your intuition!
After Cooking
- I recommend keeping the cooked pitas covered with a clean kitchen towel. It will trap some steam and keep the pitas soft and warm until you're ready to enjoy them.
- Keep leftover pitas in an airtight container or ziploc bag for about 3-4 days. Make sure they are fully cooled before storing them, otherwise condensation will form and the bread will get soggy.
Notes
Nutrition
The nutrition information provided on Sarah’s Vegan Kitchen is an estimate and is offered for general informational purposes only. Values will vary depending on the specific brands and amounts used.


So fluffy! Relatively simple as someone who really struggles with any kind of dough. I used the pizza stone method and can attest that they puff up perfectly and freeze well. They are perfect in gyros.
Tasted good, very soft
Used instant yeast and reduced the sugar from 30g down to 25g, next time would have even less sugar
And they didn’t really puff up but that’s probably because of the pan
This is the absolute best pita recipe I’ve ever made! Soft and fluffy and so delicious! This is a keeper for sure!