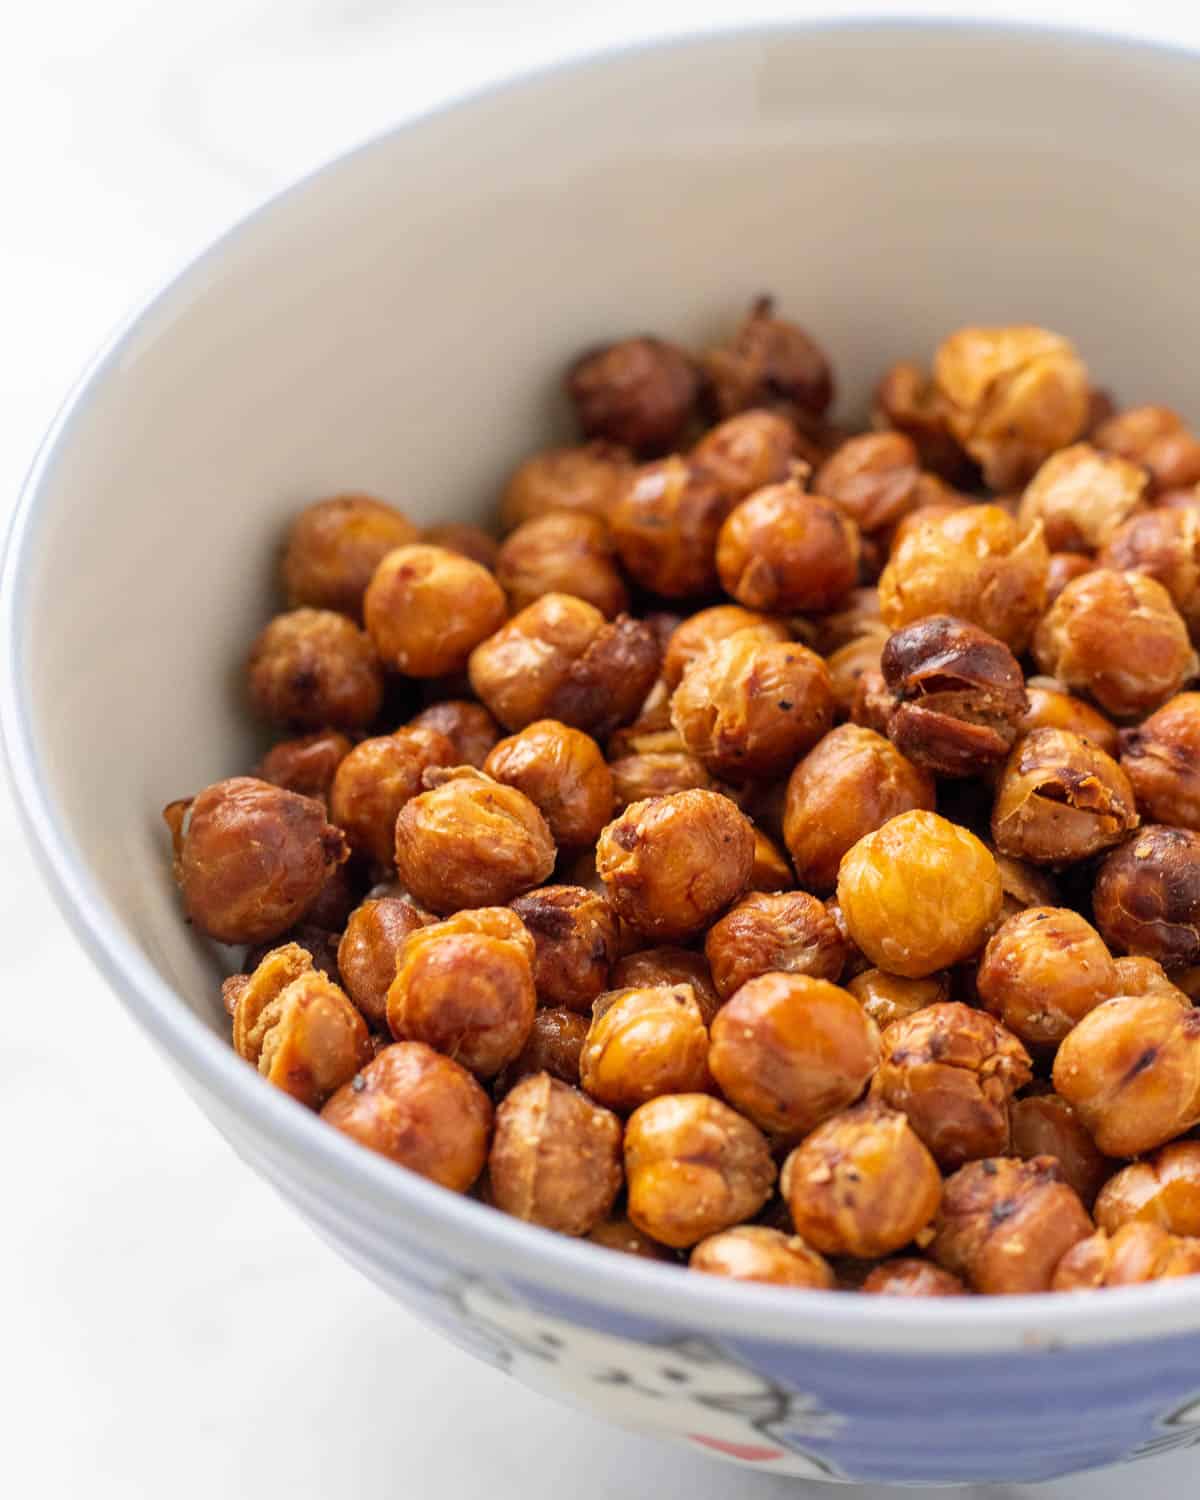
Craving a simple, crunchy, savory snack that’s good for you? These Crispy Roasted Chickpeas fit the bill. They’re packed with protein and fiber and have the most satisfying crunch that’ll make it hard to stop snacking.
These also make the best topper for soups and salads. Sprinkle a handful on your vegan Caesar salad or tomato soup as a whole food, plant-based substitute for croutons. They add a wonderful textural element.
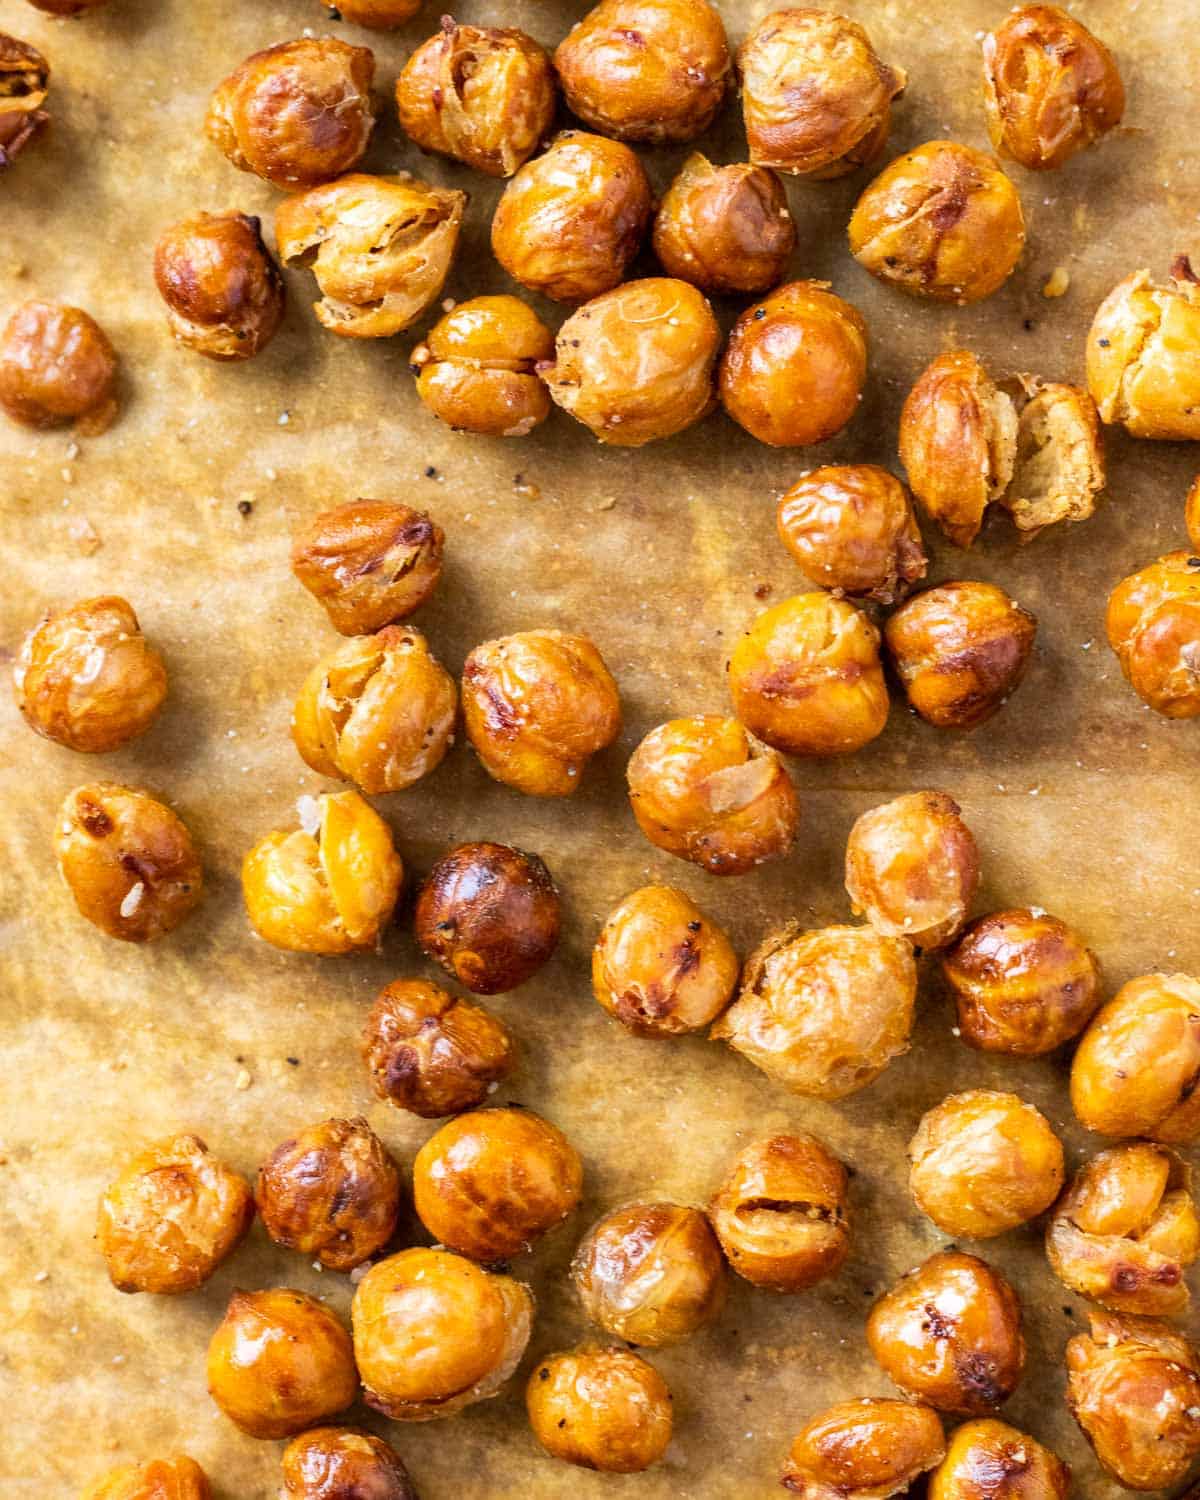
Table of Contents
Ingredients for Crispy Roasted Chickpeas
- Cooked chickpeas. Generally I use canned chickpeas for convenience, but you can also cook them yourself. If you are cooking them from dry, make sure not to overcook them — overly soft or mushy chickpeas will take much longer to crisp up.
- Olive oil. Or use any vegetable oil you like. Technically these can be made oil-free, but in my opinion the texture is better with a little drizzle of oil. It helps them crisp up and brown, and it prevents them from having a chalky texture once cooked.
- Salt and pepper. Start with salt and pepper and then feel free to experiment with any of your favorite spices. Garlic powder, paprika, and nutritional yeast are delicious options.
How to Make Crispy Roasted Chickpeas
Tip 1: Thoroughly dry the chickpeas beforehand
After rinsing your chickpeas, drain them well and then pat them dry using a clean, lint-free towel or a few paper towels. Extra moisture is the enemy of crunch!
For optional insurance, you can spread them out on the towel and let them sit on the counter for 15-20 minutes before seasoning and roasting. This will allow them to dry out a little more.
Tip 2: Stir often while baking
The chickpeas closer to the edge of the baking sheet will brown much faster, so give your chickpeas a good stir every ~10 minutes while roasting so they cook evenly.
Tip 3: Cool the chickpeas on the baking sheet for maximum crunch
Let the chickpeas sit and cool on the baking sheet once they’re done cooking. They will continue to crisp up during this time as the last bit of moisture evaporates as steam.
Tip 4: Check your oven temperature!
Every oven is a little different, and these variations in temperature can alter the exact cook time by a few minutes! If you are consistently having issues with this recipe, it may be worth it to purchase an oven thermometer to see if your oven is actually at the temperature you think it is.
Recipe FAQ
There’s always slight differences between different ovens/air fryers. Things like the material of your baking sheet can impact the cook time too. Keep an eye on the chickpeas during the last 5-10 minutes and remove them when they’re deep golden brown.
If only some of the chickpeas are burning, you probably need to stir them more often so they cook evenly. The ones closer to the edge of the pan will darken faster.
If they are still fairly light golden brown in color, they probably need more cook time. They should all be evenly golden brown when you take them out of the oven.
If they look deep golden but still aren’t crispy in the center, there’s a chance you need to dry them out more before roasting them. Make sure you thoroughly pat them dry with a lint-free kitchen towel or paper towel. If this doesn’t work, try letting the chickpeas sit on the counter for 20-30 minutes before roasting them. Some of the extra moisture will evaporate so they crisp up more easily.
These are best eaten the day they’re made, but they can be stored at room temperature for a few days. I recommend keeping them either in a bowl covered loosely with foil, or in a container with the lid on very loosely. They start to re-absorb moisture and become chewy when refrigerated or tightly sealed.
Yes! However, more delicate spices can sometimes burn, so you may want to add them during the last 10-15 minutes of cook time to avoid that. Just remove the partially roasted chickpeas to a bowl, toss with your spices of choice, and add them back to the oven/air fryer
More Vegan Snacks

Crispy Roasted Chickpeas
Video
Ingredients
- 1 (15 oz) can chickpeas drained and thoroughly rinsed
- 1 tablespoon olive oil
- salt and pepper
Instructions
- Prep: Preheat oven to 425°F. You can line a baking sheet with parchment or a silicone baking mat for easy cleanup (but this is optional).
- Dry the chickpeas: After draining and rinsing chickpeas, use a clean, lint-free kitchen towel to dry them as thoroughly as possible. This step is important.
- Season: Add the chickpeas to a bowl and drizzle with olive oil. Season generously with salt and pepper and toss to coat. (If adding additional spices, see notes.)
Oven Instructions
- Roast: Spread the seasoned chickpeas out on the baking tray and roast for 40-50 minutes, or until evenly browned. Important: Take the tray out of the oven every 10 minutes and give the chickpeas a good mix to ensure they cook evenly. The chickpeas near the edge of the pan will brown faster and can burn if not mixed regularly.
- Check for doneness: At the 40 minute mark, start checking and stirring the chickpeas every ~5 minutes instead of 10. They can quickly go from browned to burnt. Depending on your oven and how dry your chickpeas were to begin with, it takes between 40-50 minutes to get them crunchy. They're ready when they are a deep golden brown and appear slightly "cracked" or "puffed."
- Allow to cool: Once you take the chickpeas out of the oven, let them cool for about 10 minutes on the baking sheet. They will continue to crisp up during this time.
Air Fryer Instructions
- Air-fry: Pour the seasoned chickpeas into the basket of an air fryer. Air fry at 390°F for 20-25 minutes, giving the basket a shake after the first 5 and 10 minutes. During the last 10 minutes of cooktime, check often to avoid burning. The chickpeas are done when they are a deep golden brown and appear slightly "cracked" or "puffed."
- Allow to cool: Leave the chickpeas in the air fryer basket on the counter (to avoid trapping steam) and let them cool for about 10 minutes before enjoying. They will continue to crisp up during this time.
Storage
- The chickpeas are best enjoyed that day, but they can be stored for a few days. If keeping them in a container with a lid, leave the lid on loosely; if keeping them in a bag, leave it just barely open. This will help the chickpeas stay crispy.
I did this yesterday, and my family love it. Thanks Sara for amazing ideas and recipes